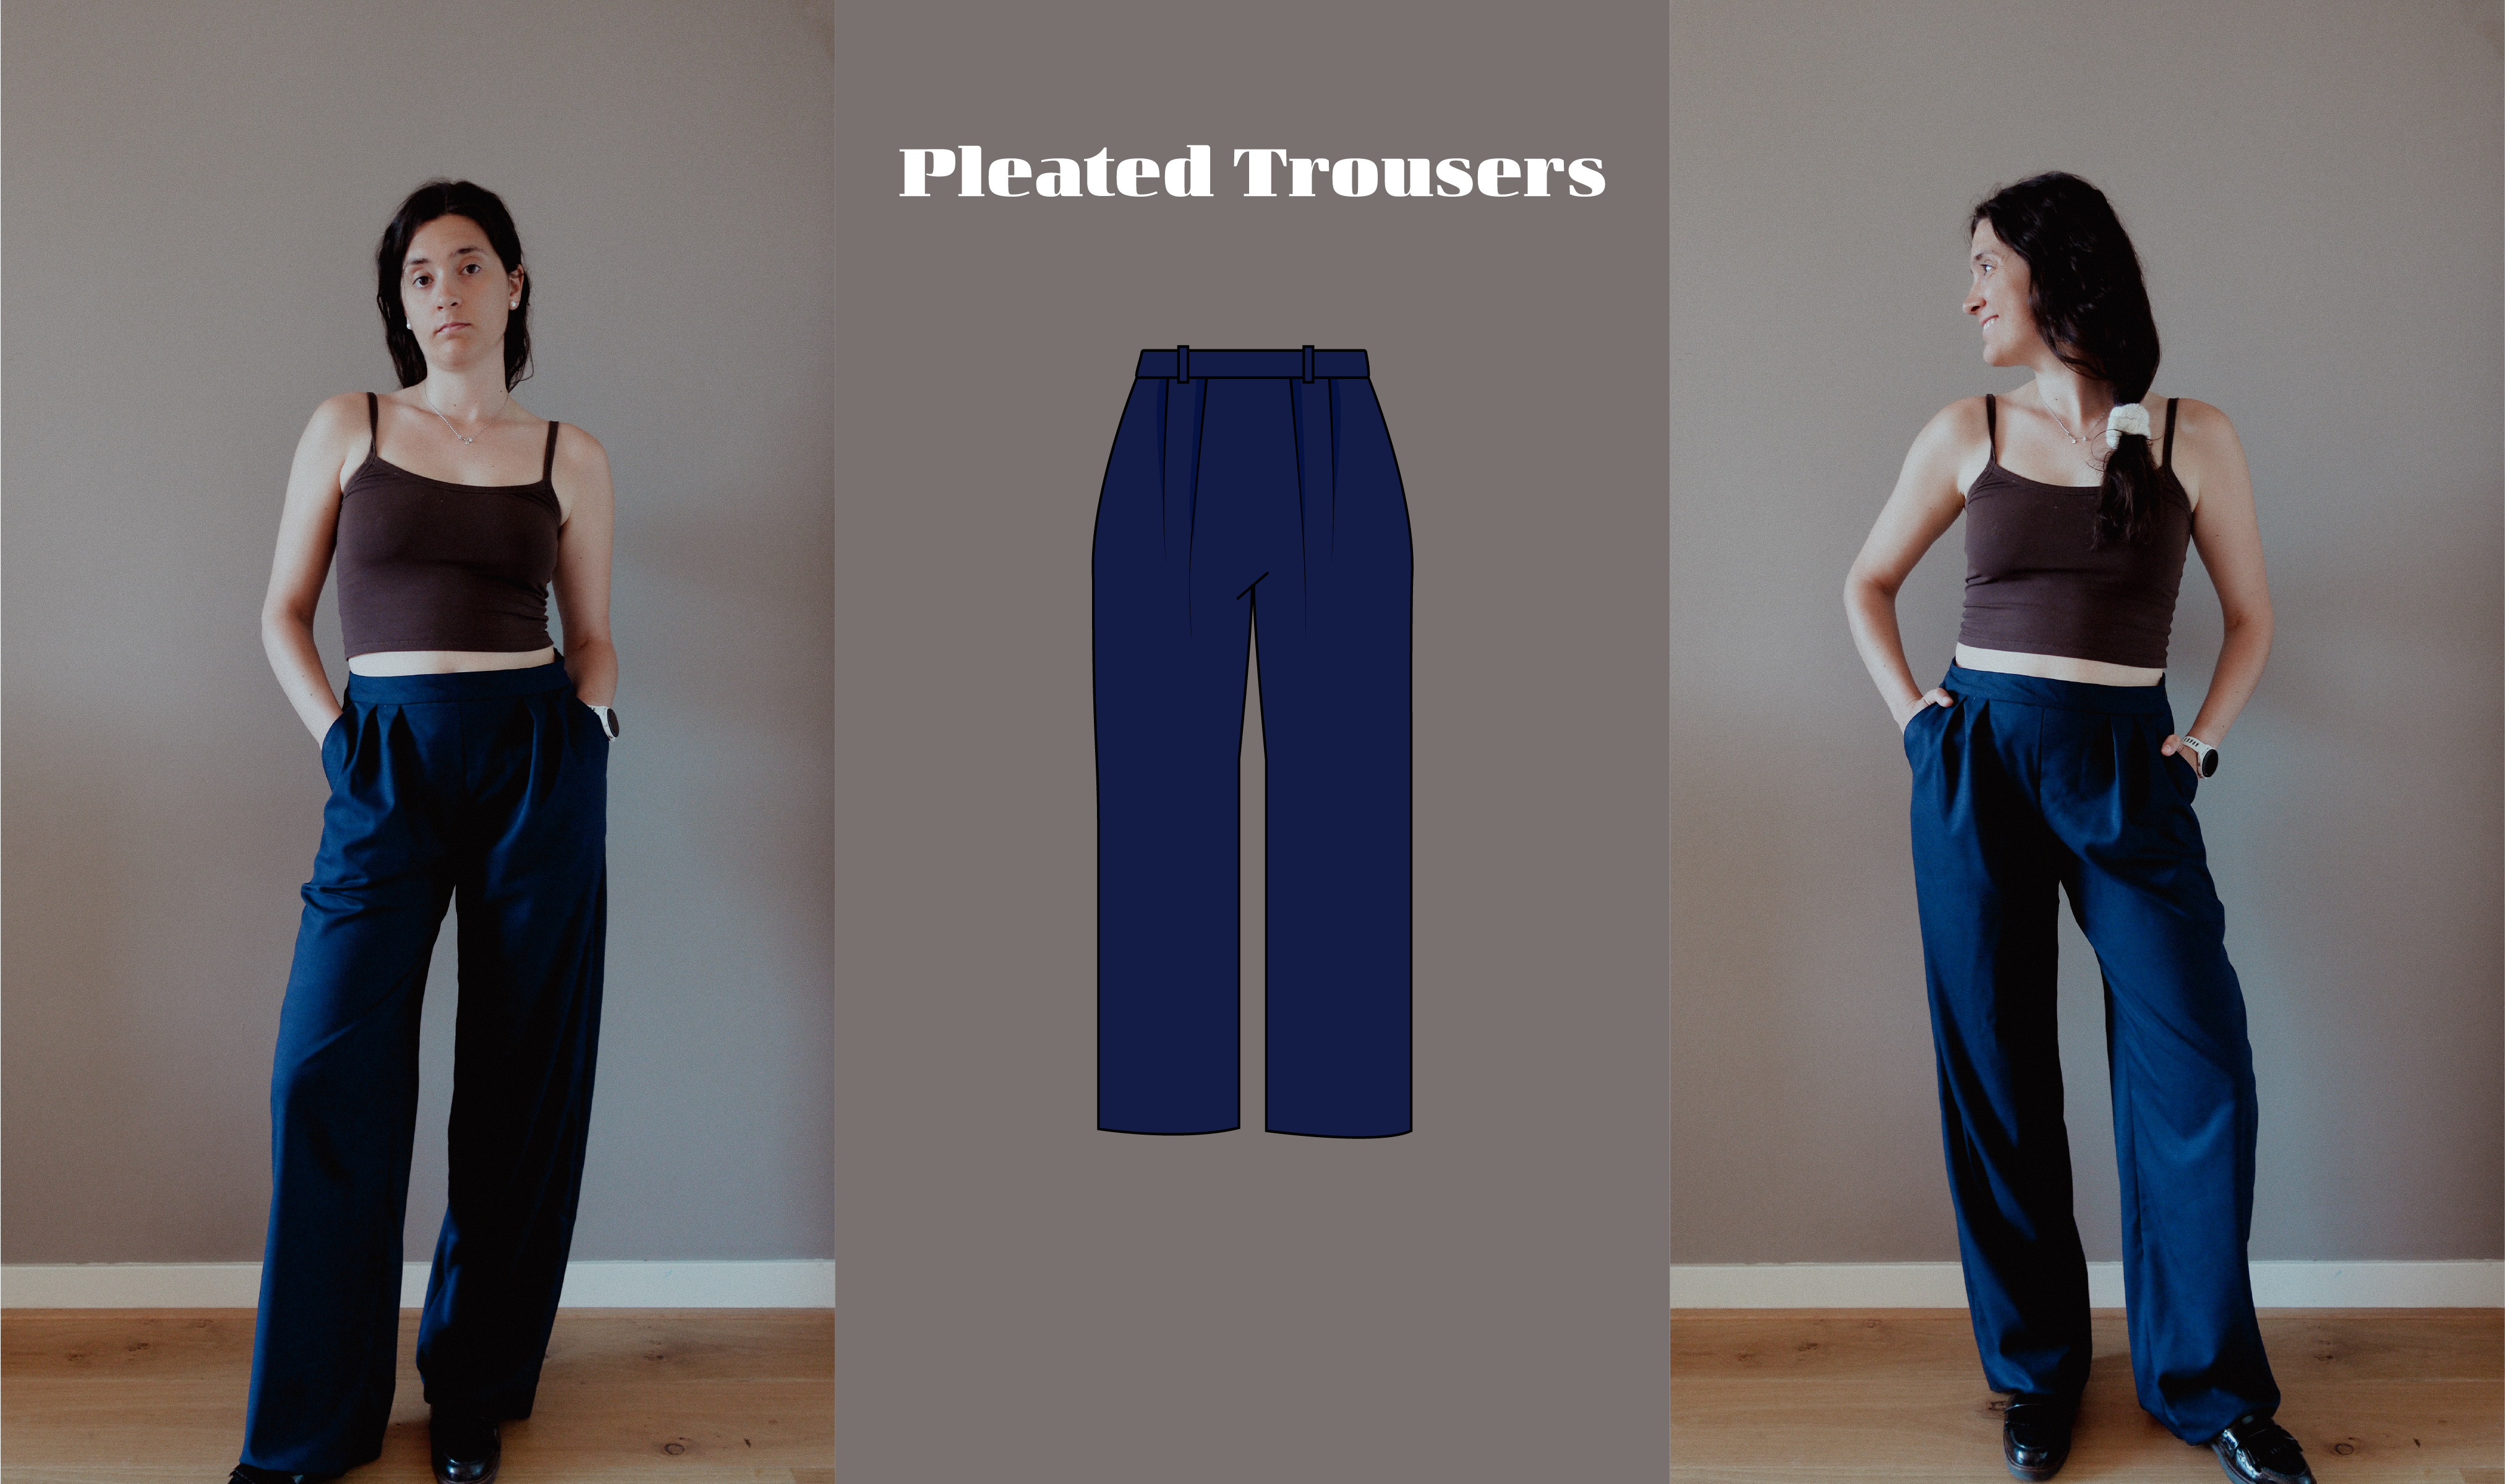
Today we’re going to look into this Free Pleated Trousers Sewing Pattern. I’ll show you how to draft it from scratch, so let’s get into it.
Before drafting this pattern you need to have the Trouser Foundation ready. If that’s not the case, click on the image on the right and do that first. And remember it’s very important to fix all the fitting issues before modifying the pattern.
For this pattern I used the trouser foundation but you can use any other foundation if you prefer it! I think this one is the best because of the low crotch and ease around the hips. But you decide!
This design might look more advanced, but I think it’s fairly easy to draft and to sew. Don’t get too scared with the images and just take it one step at a time. Let’s start drafting this Free Pleated Trousers Sewing Pattern.
Step 1 – The Leg-lines
Step number one is to change the shape of the trousers leg-line. For this design I went for a straight leg-line but feel free to leave it tapered if that’s what you’re looking for. To create the straight leg-line, draw a perpendicular line from the side hip down to the hem, for both front and back.
Step 2 – The Waistband
The next step is drawing the waistband.
- Before drawing the waistband, I lowered my waistline 3cm (grey area in the drawing)
- Mark your waistband, in my case it’s 4cm wide (red area in the drawing)
- Separate the pieces from the front and back and put them together (to get rid of the darts)
- Smoothen the curves
This design has an invisible zipper on the side, so I’m going to have the front and back waistbands separate
Step 3 – The Pockets
This design only has front side pockets
- The pocket opening is 4.5cm wide and 16.5cm deep
- The pocket is 30cm deep at the side and 10cm deep at centre front. Follow the shape in the picture
- For the facing, draw a parallel line to the pocket opening, 3.75cm away from that line
The pocket has 4 pieces: The Pocket bottom lining, the pocket top lining, the backing and the facing. It’s like a puzzle, look at the pictures to see which is which
Step 4 – The Pleats
This design has 2 pleats. Let’s see where they’re located first:
- First pleat: it’s on the crease line
- Second pleat: it’s 4cm away from the crease line to the left. Draw a parallel line from the crease line until 17cm above the knee. Then connect the end of that line to the left side of the knee
These are the lines where we’re going to add the pleat volume. To do that, cut through the lines all the way but not through the end. This is because we want to add volume to the top but not to the bottom of the trousers.
- The first pleat is 5cm wide
- The second pleat is 2.5cm wide. If your front pattern has darts, just add the width of the darts as your pleat width.


Step 7 – The Seam allowances
And with that the pattern is ready. The only thing left to do is adding the seam allowances:
- Add 1cm seam allowances everywhere (except for the CF and CB of the waistbands and the hem of the trousers)
- The CF and CB of the waistbands doesn’t have seam allowance because it’s cut on the fold
- The hem of the trousers is 4cm but make it as wide as you want
Your Free Pleated Trousers Sewing Pattern is ready! I hope you find it easy to follow and if you have any questions please let me know in the comments. I want to see all your versions!


Leave a Reply